
Importance of Properly Adjusted Motorcycle Mirrors
Understanding how to adjust motorcycle mirrors is not just a matter of convenience, but a vital safety measure for every rider. A properly adjusted mirror ensures that the blind spot is minimized, offering a clear and unobstructed view of the rear. This clarity not only bolsters the rider’s confidence but also plays a pivotal role in ensuring safety on the road. With a properly adjusted mirror, riders can make informed decisions while changing lanes, overtaking, or turning, significantly reducing the risk of potential accidents. Moreover, it aids in anticipating the actions of other road users, allowing for proactive rather than reactive riding. In essence, the importance of well-adjusted mirrors transcends mere visibility; it’s about creating a safer riding environment.

Tools Needed for Adjusting Motorcycle Mirrors
Before embarking on the adjustment journey, it’s imperative to be equipped with the right tools. A wrench is typically the go-to tool for most adjustments, especially when dealing with aftermarket motorcycle mirrors. However, it’s worth noting that specific motorcycle brands, like Honda, might necessitate specialized tools for their motorcycle wing mirrors. (Learn: Top 10 Motorcycle Mirror Manufacturers) In addition to a wrench, having a clean cloth can be beneficial to wipe down the mirrors, ensuring clarity. Furthermore, for those who are new to the world of motorcycle maintenance, a manual or guide specific to their bike model can be invaluable. Ensuring you have the right tools not only makes the adjustment process smooth and efficient but also prevents potential damage to the mirrors or their arms.
| Tool | Function | Importance (Level 1-3) |
| Wrench | Used to loosen or tighten mirror adjustment bolts/nuts | 3 (High) |
| Clean Cloth | Helps to wipe down the mirrors for clarity | 2 (Medium) |
| Manual/Guide | Provides specific instructions for bike model | 3 (High) |
Step 1 – Setting the Middle Position for Maximum Adjustment
Starting the adjustment process by positioning your motorcycle mirror in the middle is a strategic approach. This central position acts as a reference point, ensuring that you have the full range of movement available for both leftward and rightward adjustments. Whether you’re dealing with standard motorbike mirrors or specialized motorcycle rear view mirrors, establishing this middle ground is essential. It not only simplifies the subsequent steps but also ensures that you achieve a balanced view on both sides, laying the foundation for optimal rearward visibility.
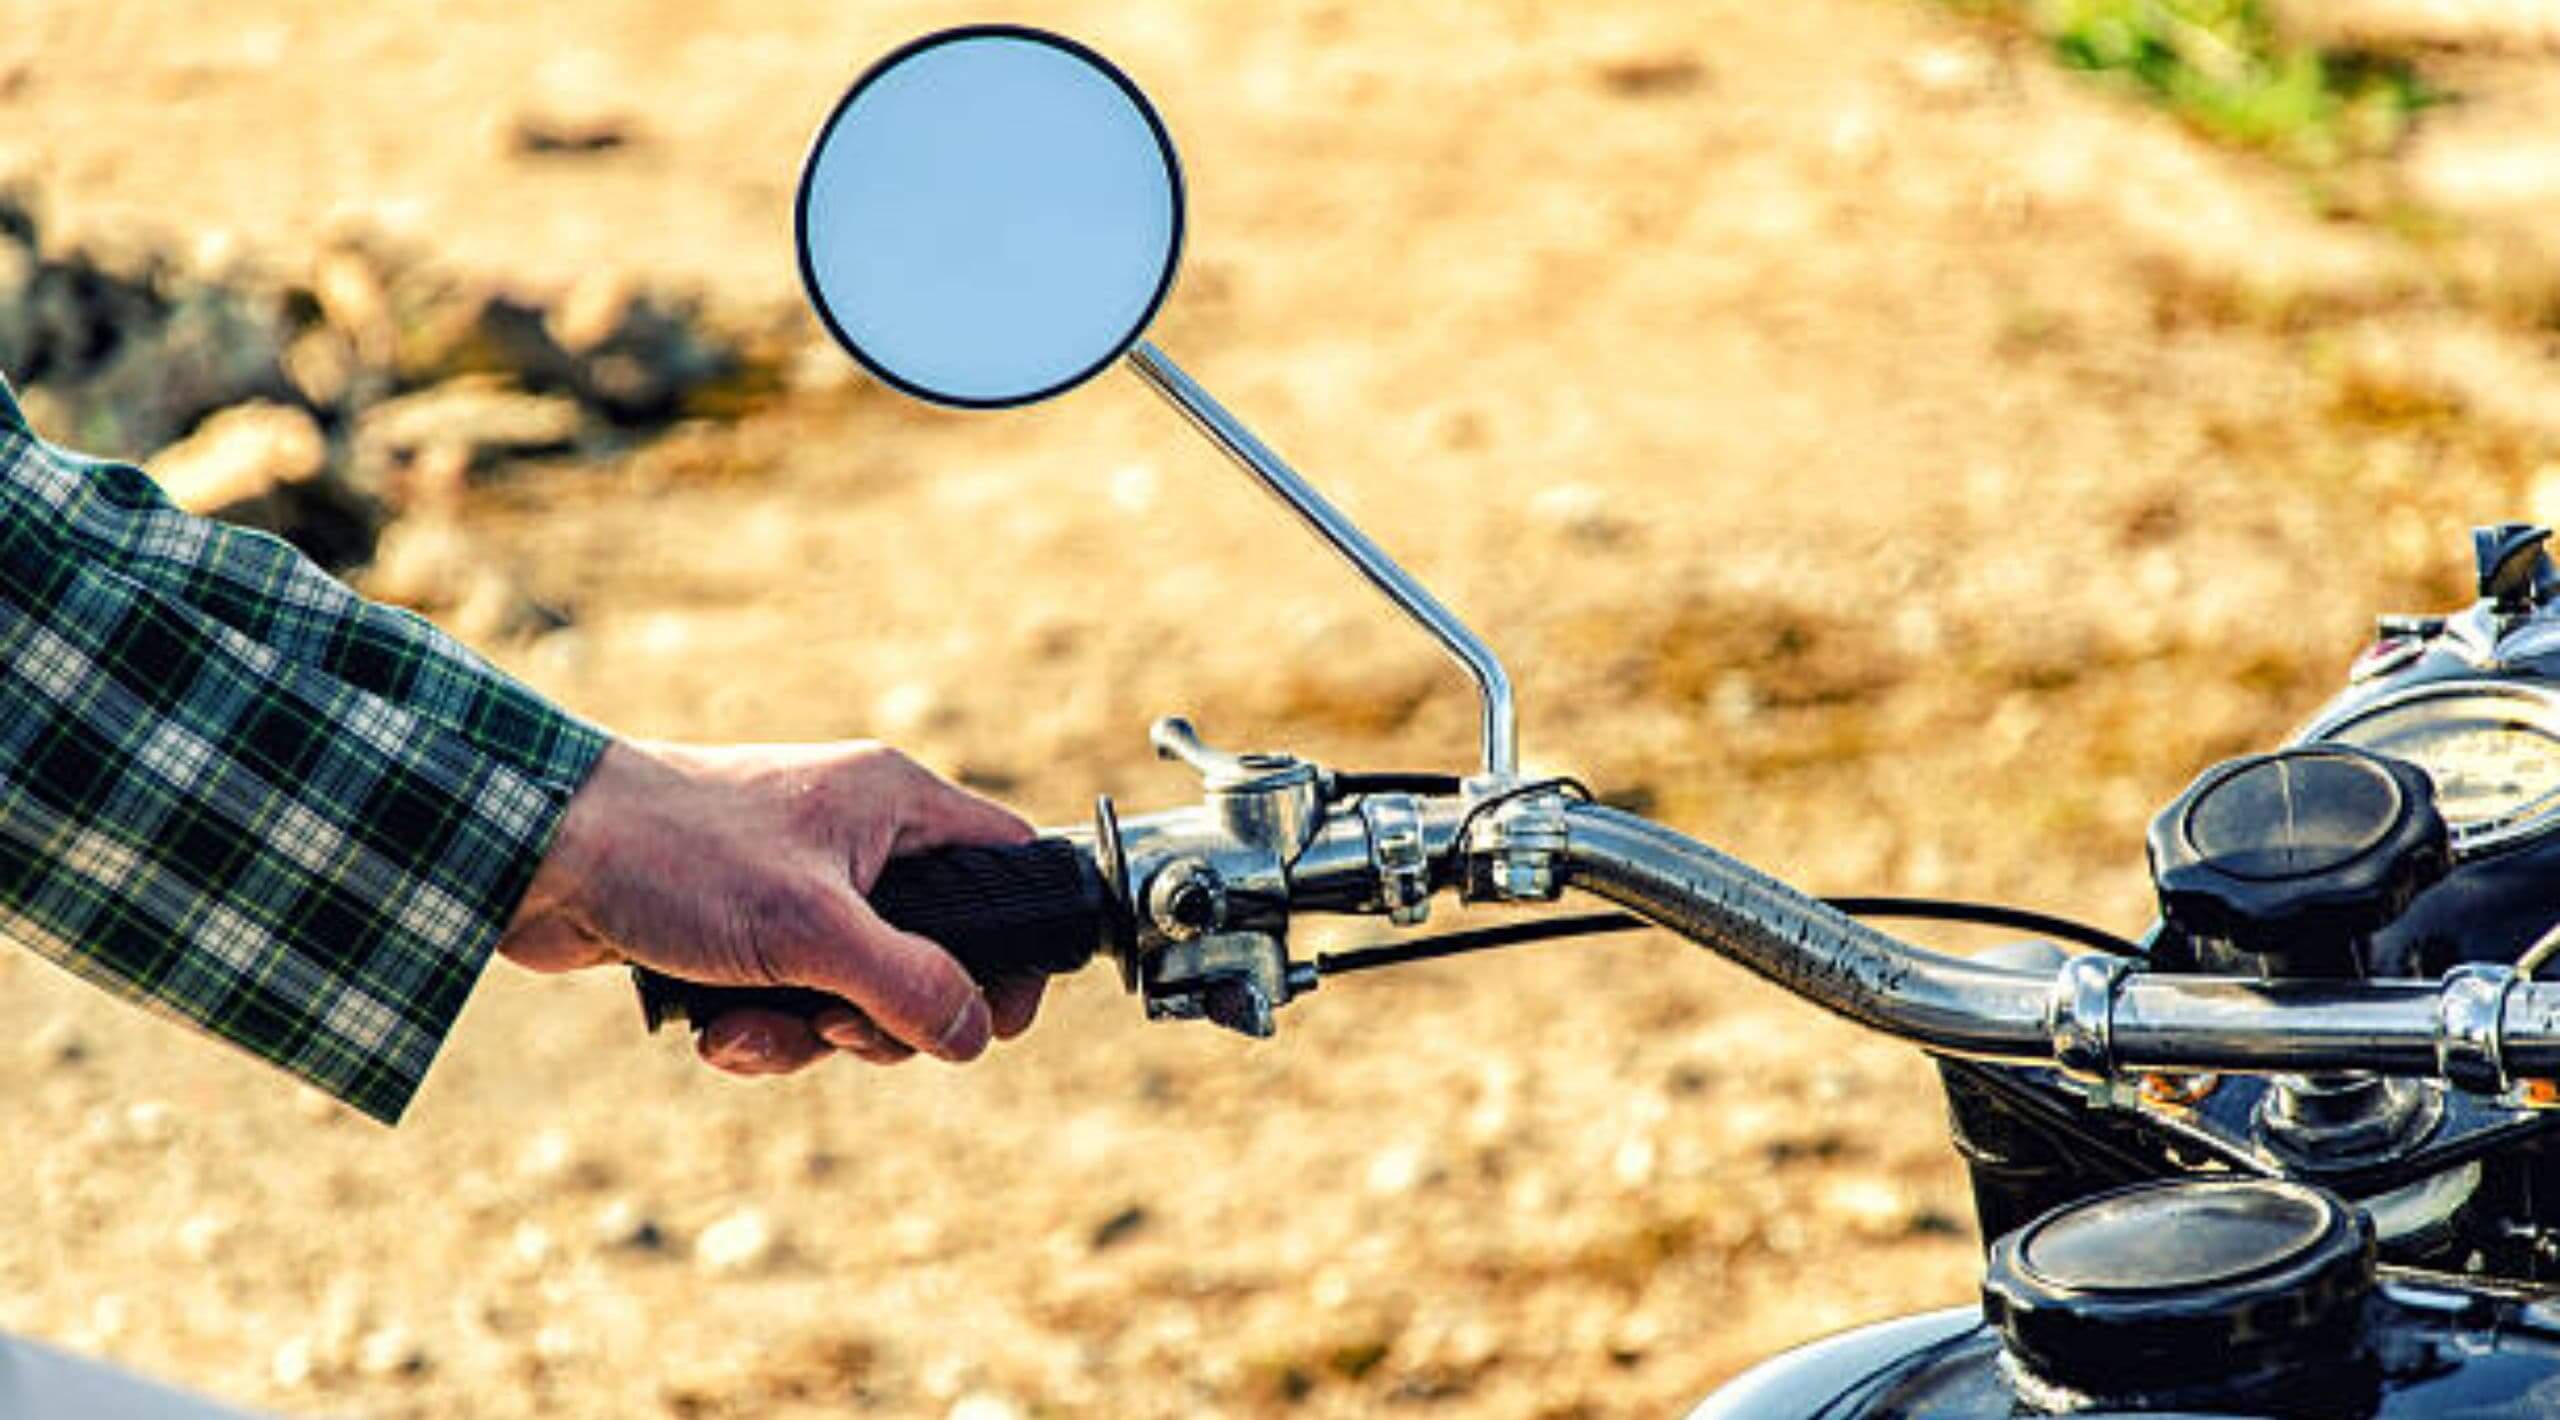
Step 2 – Proper Riding Position for Mirror Adjustment
The essence of adjusting your motorcycle mirrors is to ensure you have the best possible view when you’re on the road. To achieve this, it’s imperative to simulate your natural riding posture. By sitting on your motorcycle as if you’re about to embark on a journey, you’re replicating the exact scenario in which you’ll use the mirrors. With your hands firmly on the handlebars and feet positioned on the pegs, you can adjust the mirrors to cater to your specific height and riding style. This realistic stance ensures that once you’re on the move, the mirrors provide the most accurate and useful perspective, eliminating the need for frequent readjustments.

Step 3 – Adjusting the Left Motorcycle Mirror
The left mirror is vital for riders, especially in countries where driving is on the right side of the road. Begin the adjustment by using your left hand to gently maneuver the mirror. The ideal position should allow you to see the back edge of the mirror, a portion of your shoulder, and most importantly, the road stretching behind you. Achieving this view ensures that you’ve effectively minimized the blind spot, a crucial aspect for safe lane changes and turns. Once the desired position is attained, it’s essential to secure it. If there’s any slack or movement, use a wrench to tighten the mirror arms, ensuring stability even during high-speed rides or bumpy terrains.
Step 4 – Adjusting the Right Motorcycle Mirror
The right mirror is equally crucial for maintaining a full field of vision while on the road. When adjusting this mirror, aim to achieve a view that mirrors the left side, ensuring symmetry and balance in your rearward vision. This symmetry is essential for making accurate judgments about distances and the relative position of vehicles behind you. As you adjust, be mindful of the mirror’s stability. Any wobbling or slack can be addressed by learning how to tighten motorcycle mirrors effectively. Using a wrench, ensure the mirror arms are firmly in place, preventing any unwanted movement during rides.
Fine-tuning Mirror Position for Ideal Rearward Vision
Once the primary adjustments are made, the art of fine-tuning begins. This step is about refining the mirror positions to perfection. Check for any obstructions caused by the motorcycle’s fairing or windshield that might impede your view. The goal is to achieve a clear, panoramic view of the rear, allowing you to see vehicles, obstacles, and road conditions. This comprehensive view is not just about convenience; it’s a critical safety measure, ensuring you’re always aware of your surroundings and can make informed decisions while riding.
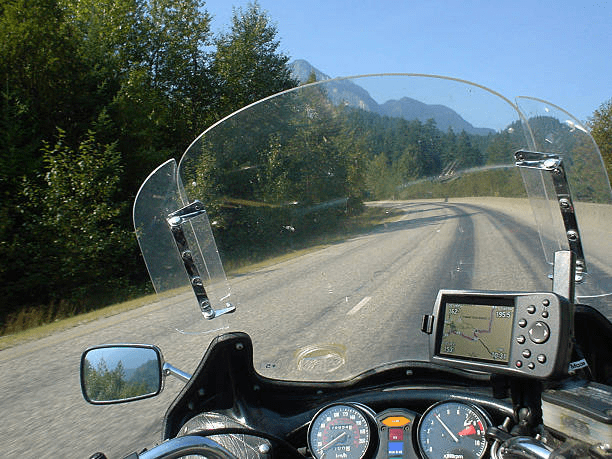
Tips for Dealing with Mirror Vibration and Blur
Mirror vibration can be a significant concern for riders, particularly when traveling at higher speeds. This vibration can distort the rear view, making it challenging to gauge the situation behind accurately. First and foremost, ensure that the mirror arms are tightened adequately, as a secure fit can significantly reduce vibration. (Quick Fix: How to Tighten Motorcycle Mirrors) For persistent issues, riders might consider exploring aftermarket motorcycle mirrors, which are often designed with features to combat blur and vibration. Some of these mirrors come with dampening mechanisms or are made of materials that reduce the effects of road vibrations, ensuring a clearer and steadier view regardless of the speed or terrain.
Final Checks and Safety Precautions for Properly Adjusted Mirrors
After meticulously adjusting and securing your mirrors, it’s essential to conduct a final check to ensure optimal visibility. Start by performing a shoulder check. This action helps identify any remaining blind spots that the mirrors might not capture. It’s a crucial step, reminding riders of the importance of physical checks in conjunction with mirror usage. No matter how well-adjusted your mirrors are, the golden rule remains: always perform a shoulder check before changing lanes, turning, or making any significant maneuvers on the road. This dual approach ensures maximum safety and awareness.

Conclusion: Achieving Optimal Mirror Adjustment
Mastering the art of adjusting motorcycle mirrors is more than just a maintenance task; it’s a safety imperative. Properly adjusted mirrors provide riders with the confidence to navigate roads, knowing they have a clear and comprehensive view of their surroundings. Whether you’re fine-tuning standard motorbike mirrors or specialized motorcycle rear view mirrors, the objective remains the same: achieving crystal-clear rearward vision. By prioritizing this clarity, riders not only enhance their safety but also elevate their overall riding experience. Remember, the road is full of uncertainties, but with well-adjusted mirrors, you’re one step closer to a safer journey. Safe riding to all!